Hey everyone, I hope you are having an incredible day today. Today, we’re going to prepare a distinctive dish, milk bear loaf. One of my favorites. For mine, I am going to make it a bit unique. This is gonna smell and look delicious.
Milk Bear Loaf is one of the most popular of current trending meals in the world. It’s appreciated by millions daily. It’s simple, it is quick, it tastes yummy. Milk Bear Loaf is something which I’ve loved my entire life. They are nice and they look wonderful.
To get started with this recipe, we must prepare a few components. You can have milk bear loaf using 10 ingredients and 19 steps. Here is how you cook that.
The ingredients needed to make Milk Bear Loaf:
- Make ready whole milk
- Get dry yeast
- Take strong flour or wholemeal flour (If you use strong flour, it become beautiful white bread.)
- Prepare sugar or 1 tablespoon
- Get salt
- Take unsalted butter, room temperature (If you use salted butter, reduce the salt amount.)
- Make ready For decorations:
- Take Millkybar small buttons. I think that 30g ones are good size for this
- Make ready Choco Writer – Milk
- Get https://mycakedecor.co.uk/shop/choco-writer-milk/
Steps to make Milk Bear Loaf:
- The video of this recipe is at: https://youtu.be/sgdRLsDiVVU
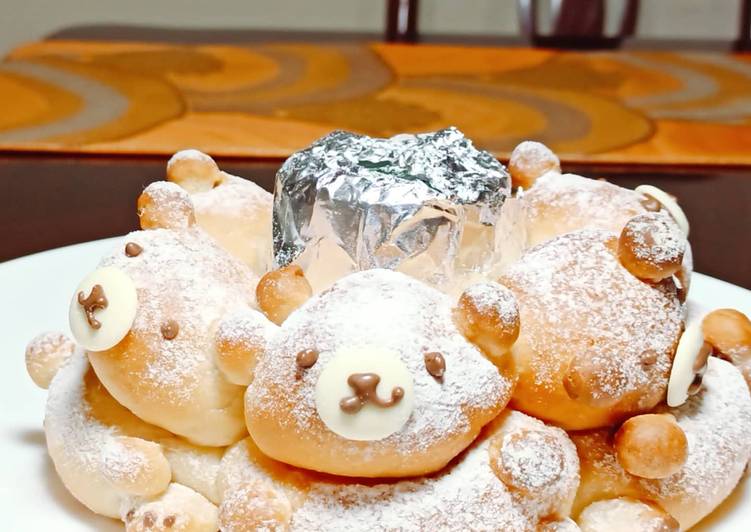
- Prepare the tin. Oil the tin and lay a parchment sheet on the bottom. I use 20cm pan and also made a tube with foil and a small oven-safe glass cup. Oil the foil as well.
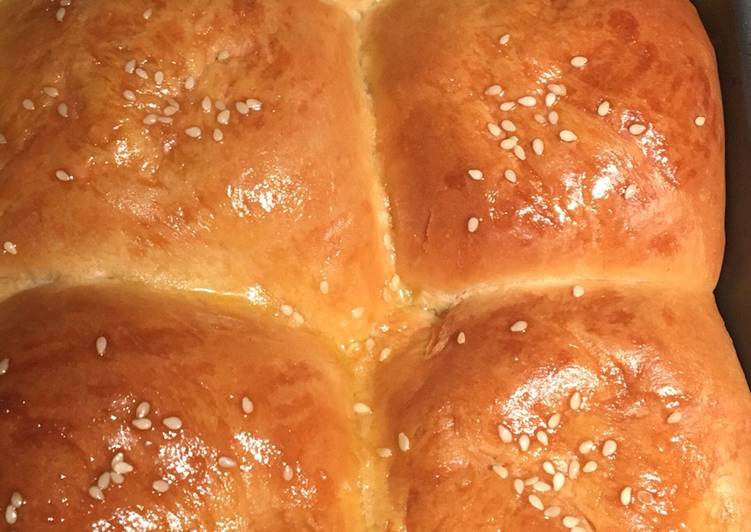
- Make Milk Loaf till the first fermentation step 7. https://cookpad.com/uk/recipes/11955346-japanese-angel-soft-milk-loaf
- After having checked the fermentation, take out and punch down the dough. Make it round again.
- Divide the dough into 4 parts as follows with a scale. Please use a scale which can weigh 0.1. I use the one which I got in Japan and it is pretty accurate. - - ①84g for heads (You could change the size of heads and will create different impressions. This version is the head is about 0.66% of the head.) - ②15g for back paws - ③15g for ears and front paws - ④The rest for bodies
- 【Bodies, 6 balls】Divide ④ into 6 balls. I would cut it half first and round them. Then, divide them into 3. When I cut dough into 3, I usually make a ball and divide into 3 with 120° with the help of the imaginary line of the green line in the first picture. Make balls. Place in the tin. Cover with a damp cloth in order not to dry out when you are doing these steps. (about 21g each)
- 【Heads, 6 balls】Divide ① into 6 balls. Divide ① 84g dough into 2 (42g) and then into 3. (about 14g each) Place on the top of the bodies. Cover it with a damp cloth or cling film.
- 【Back paws, 12 balls】Divide ② 15g of dough into 4 (about 3.75g each). Round them into balls and then divide again into 3. (about 1.2g each) Leave them on the board and cover them. I used cling film.
- 【Ears and front paws, 24 balls】Repeat the same to make 12 ballsfirst as the step 7. Divide ③ 15g of dough into 4 (about 3.75g). Round them into balls and divide them again into 3 (about 1.2g). Then, divide into 2. (about 0.6g each)
- Assemble small parts (ears and paws). Please cut the dough with scissors and tuck the dough with a skewer so that they will not fall off. You could push the faces a little bit to make better face shapes.
- Start to preheat the oven at 180℃.
- Leave it in a warm place until it becomes 2-2.5 times but this will depend on how quickly or slow you divide the dough and assemble them. You may not wait too long.
- Dust them with flour.
- Put the bread in the oven and turn down the temperature as 160℃. - Then, bake at 160℃ for 18-20 mins.
- While you are baking the bread, decorate white chocolate buttons. I used the Milkybar button as faces and used Choco Writer Milk in parchment to draw, as it is easier to draw with small details. Follow the instruction of Choco Writer Milk to how to melt it. I also used the small bag (30g) of Milkybar button as they are nicely small. It is about the same size as 5p coin.
- After about 18 mins, take out the list and leave it till cool on a cooling rack.
- After it cools, draw eyes and paws with Choco Writer Milk, which is perfect for eyes and paws. If the bread is still warm, chocolate will melt. So, please wait till it cools.
- Even if they lean or become a strange posture, they will still look cute, so you cannot go wrong. You could make with wholemeal flour and they also look cute💕
- Keep the loaf in a plastic bag in order to retain the moisture so that keep moist and soft.
So that is going to wrap it up for this exceptional food milk bear loaf recipe. Thanks so much for reading. I’m sure you will make this at home. There is gonna be more interesting food in home recipes coming up. Remember to bookmark this page in your browser, and share it to your family, friends and colleague. Thank you for reading. Go on get cooking!